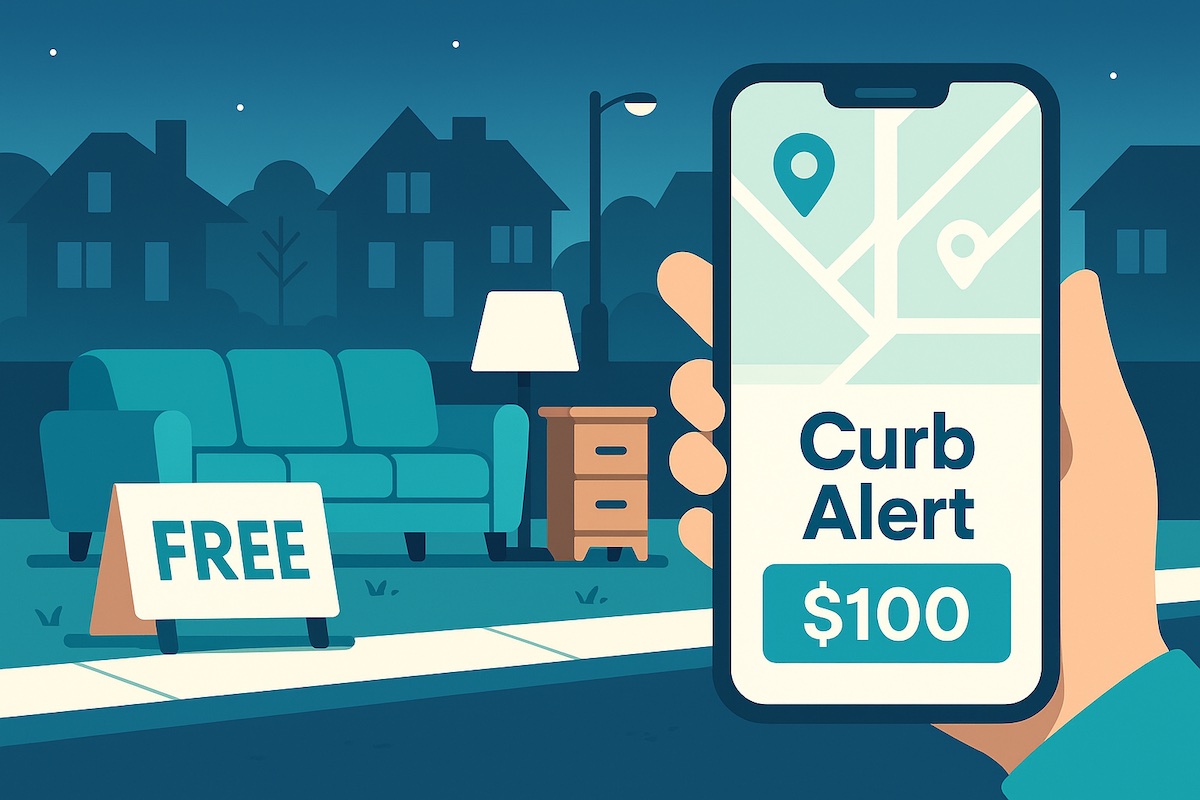
How to Furnish a Room for $100 Using Curb Alerts & Reuse Apps

Yes, it’s totally possible to outfit a room for a hundred bucks—or less—if you know where (and when) to look, how to vet pieces fast, and which fixes give the biggest glow-up for pennies.
Best Times & Neighborhoods to Look
Great curb alerts follow a rhythm. If you sync with it, you’ll see better pieces—often before anyone else.
When the good stuff hits the curb
- Evenings before trash day: Many people set out items after work. Aim for 6–10 PM—and the early AM pass (6–8 AM) for stragglers.
- Weekends, especially Sundays: Post-yard-sale leftovers often migrate to the curb with a “FREE” sign.
- End-of-lease & college move-out weeks: Bulk outflows from apartments and dorms can be gold mines.
- After big-box delivery windows: New couches in, old couches out—watch neighborhoods on days local stores deliver.
Where to look (ethically & efficiently)
- High-turnover streets: Rentals and multi-unit buildings change over often.
- Near thrift stores, not just in front of them: People will reject items at donation doors and leave them curbside around the block.
- Don’t trespass: Only take items clearly on the public curb/sidewalk with “free” signs or obvious discard cues. When in doubt, skip it or knock and ask.
Apps & Alerts to Set (Filters That Matter)
Use a “funnel” strategy: set tight filters so your phone only pings for pieces worth the drive.
Zero-cost sources
- Freecycle: Hyper-local gifting groups; everything is free by design. Join your local town group and turn on notifications.[3]
- “Free” sections: Craigslist “free,” Nextdoor free posts, Buy Nothing groups (on Facebook).
- Marketplace searches: On Facebook Marketplace/OfferUp, set max price = $0–$20, distance = close, and keywords like “curb,” “moving,” “free,” “must pick up.”
Filters that save time
- Distance & pickup window: Under 10 miles; “porch-pickup ok” or “curb now.”
- Material: Solid wood, metal, glass last longer and refinish well. Avoid flaking paint on older pieces (see lead note below).
- Photos that show joints & undersides: Ask for an underside shot—loose rails and crushed frames are deal-breakers.
Quick Quality Checks (Bedbugs, Structure, Smells)
Two minutes of inspection can save you hours of regret. Here’s a fast, repeatable checklist for curbside finds and secondhand pickups.
90-second pest check (do this first)
- Seams & crevices: Use your phone flashlight along seams, tufts, zipper tape, and screw holes. Look for rusty/reddish stains, pinpoint dark spots, and shed skins—especially near piping and tags.[4]
- Undersides & back rails: Flip cushions; check the dust cover underneath sofas and chairs.
- Mattress/box spring? If you see suspect signs, pass—or plan a professional treatment. EPA recommends inspecting secondhand furniture before bringing it home and notes encasements as part of prevention.[2]
Structure & safety
- Wiggle test: Sit, lean, and gently rock. If it racks like a shopping cart, it’s a time sink.
- Solid wood over particleboard: Look at screw holes and edges; swollen or crumbling particleboard means “skip.”
- Old painted surfaces: For furniture with chipping paint from pre-1978 settings, avoid dry sanding—lead dust is a hazard. Use lead-safe practices or leave it.[6], [7]
Smell & moisture
- Nose test: Sour/musty odors can be permanent. If it smells like a basement after a flood—walk away.
- Check for swells & stains: Water damage in MDF/particleboard rarely reverses.
Grab-n-go inspection kit
- Phone flashlight (or compact LED)
- Nitrile gloves & hand wipes
- Measuring tape & blue painter’s tape (mark damage to address later)
- Straps/blankets for transport; a tarp if it’s damp out
Fast Clean-Ups & Low-Cost Fixes (That Look Like $$$)
These quick wins stretch your $100 while making curb finds look store-bought.
Upholstery & soft goods
- Vac + steam: Vacuum seams/tufts, then use a garment steamer to freshen fabric (test first). Heat and mattress/box-spring encasements are recognized non-chemical IPM tools.[1]
- Slipcovers & throws: A $20 slipcover or oversized throw can rescue a cosmetically tired sofa.
- New legs = new vibe: Swap dated couch/chair legs for tapered wood legs ($15–$25).
Case goods (dressers, tables, shelves)
| Item | Estimated Cost | Notes |
|---|---|---|
| Slipcover or throw | $20 | Instant sofa refresh |
| Hardware (6–8 knobs) | $12–$20 | Dressers/nightstands |
| Furniture legs (set of 4) | $15–$25 | Modernizes silhouette |
| Primer/paint (quart) | $18–$25 | Bonding primer = less sanding |
| Cleaning/repair supplies | $10–$15 | Degreaser, wood filler, wipes |
| Total | ≈ $75–$105 | Plenty of wiggle room |
Can’t Pick It Up? Low-Cost Hauling & Donation Swaps
If you spot a winner but can’t lift or transport it, you still have moves:
- Ask for a porch hold: Many listers will hold for a committed pickup the same day.
- Micro-hauls: Hire a neighbor with a pickup via local groups for $20–$40—often cheaper than renting.
- Donation swap: If you’re replacing a piece, schedule a donation pickup for the outgoing item. Free up space first, then grab the curb find.
- Measure your doors before you go: Bring tape; saves you from “it doesn’t fit” heartbreak.
FAQ: Curb-Alert Furniture, Safety & Etiquette
One-Page Checklist (Save This!)
- ☑️ Saved searches with “free/curb/moving” keywords
- ☑️ Phone flashlight, gloves, tape measure in the car
- ☑️ Inspect seams/undersides; skip suspect upholstery
- ☑️ Favor solid wood/metal/glass; avoid swollen particleboard
- ☑️ If old, flaking paint → no sanding (lead-safe plan)
- ☑️ Plan your $100 fixes (hardware, slipcover, paint)
References
- U.S. EPA — Controlling Bed Bugs Using Integrated Pest Management (IPM).
- U.S. EPA — Bed Bug Prevention, Detection and Control.
- Freecycle — About Freecycle.
- U.S. EPA — How to Find Bed Bugs.
- U.S. EPA — Protecting Your Home from Bed Bugs.
- U.S. EPA — Lead Renovation, Repair and Painting (RRP) Program.
- U.S. EPA — Lead-Safe Renovations for DIYers.


